
NETWORK OPERATIONS CENTER
WINDOWS
Installation and setup procedure
You download the installer to your computer:

Sequential installation steps:
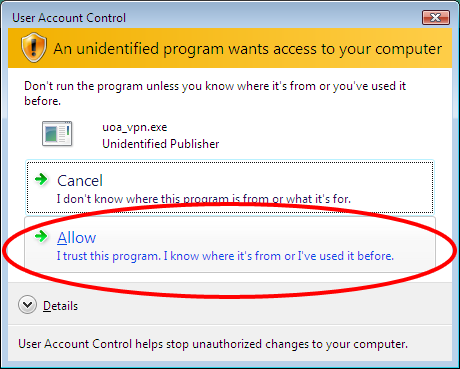
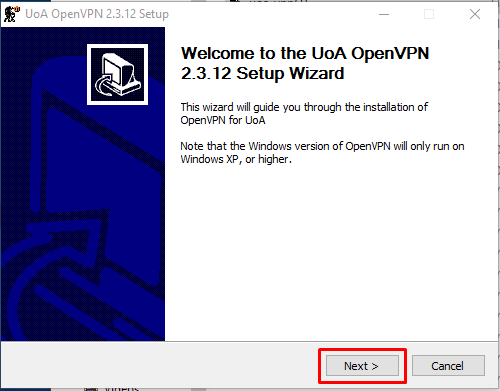
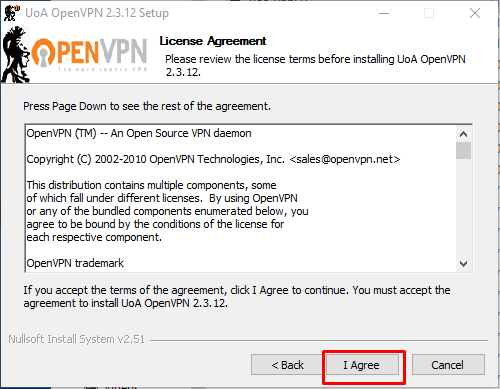
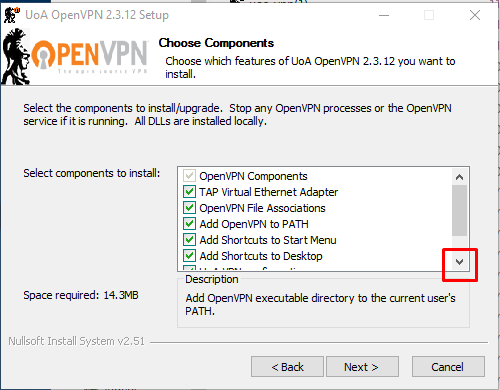
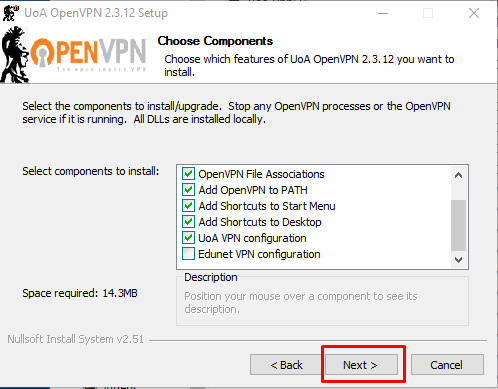
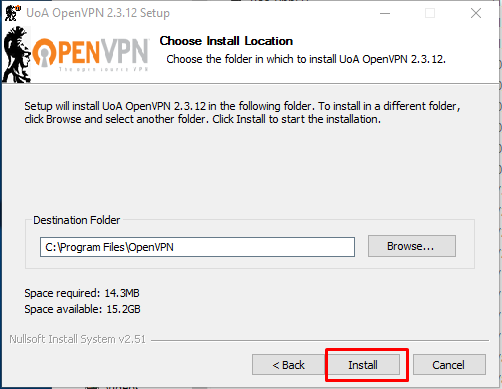
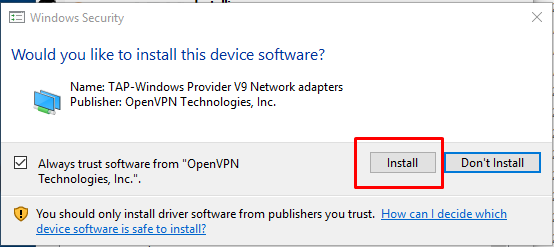
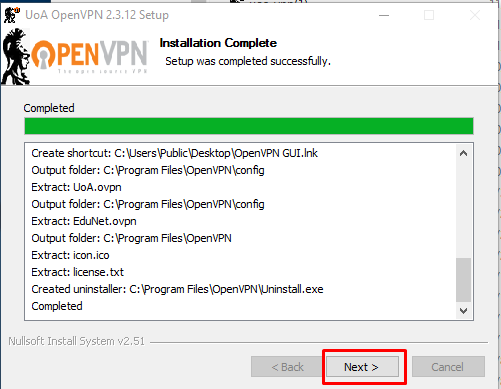
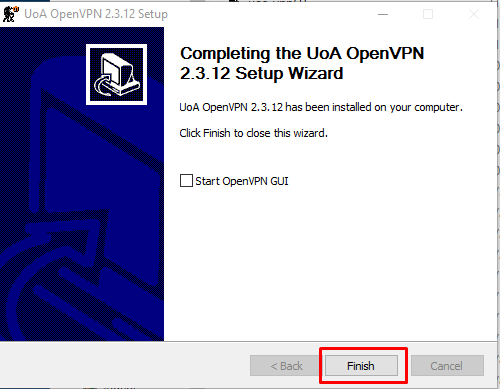
Instructions
Once you have completed the installation process, follow the steps below to connect to the University network:
Step 1
Double-click on the icon

which now exists on your computer's desktop.
Step 2
At the bottom right of the desktop, where the time display is located, a new icon will appear

Step 3
Right-click on the new icon

and then select "Connect"
Step 4
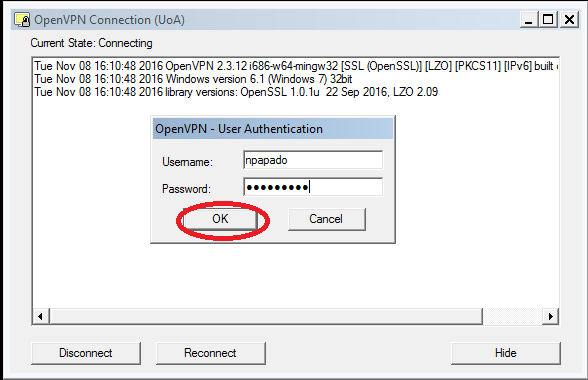
In the new window that appears, fill in the username and password fields with the account details you have in the Network Operations and Management Center.
For example:
Step 5
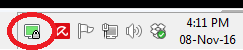
After the connection process is complete, the OpenVPN icon will turn green.
Process Completion
The connection via UoA VPN has been completed.
If you want to check that you have received a university IP address you can visit the address:
Uninstall / Reinstall the program
In case we want to remove the installed applications, we need to go to the control panel and in the add programs section remove UoA OpenVPN.
If we are going to reinstall UoA OpenVPN (e.g. because of an upgrade to the program or because the program does not work properly) we must, after uninstalling UoA OpenVPN, restart our computer before trying to reinstall UoA OpenVPN, otherwise the installation will not complete correctly.